Facing without insulation SKANROK | KEFSVOK-1
Set of energy saving facade ventilated system with stone (tile) | modification 1.
Purpose of the SKANROK KEFSVOK-1 installation system:
Installation of the hinged ventilated facade SKANROK KEFSVOK-1 is carried out on fencing structures made of dense building materials, since the system SKANROK KEFSVOK-1 does not provide for the installation of a heater, then the fencing structure should already meet the requirements of building norms for the conductivity.
Fastening of the SKANROK KEFSVOK-1 system is made directly to the wall surface.
Usually used for lining house structures and structures constructed of porous 440-510 mm thick ceramic blocks and other materials, if the resistance of the wall thermal conductivity Rпр ≥ [Rтр].


The SKANROK KEFSWOK-1 system is a patented system.
The SKANROK KEFSWOK-1 system, like all other SKANROK systems, is highly reliable and durable.
All SKANROK ventilated facade systems have been certified in Ukraine, Western Europe and other countries.
SCANROC’s ventilated facades are exported to Belarus, Kazakhstan, Scandinavia, the Baltic countries, the Czech Republic, Slovakia, Germany, Denmark, the Netherlands and even Australia.
Device of structural metal part of the SKANROK KEFSVOK-1 system
All metal parts of the system are made of high quality European hot-dip galvanized steel.
All screws and anchors have hot-dip galvanized coating.
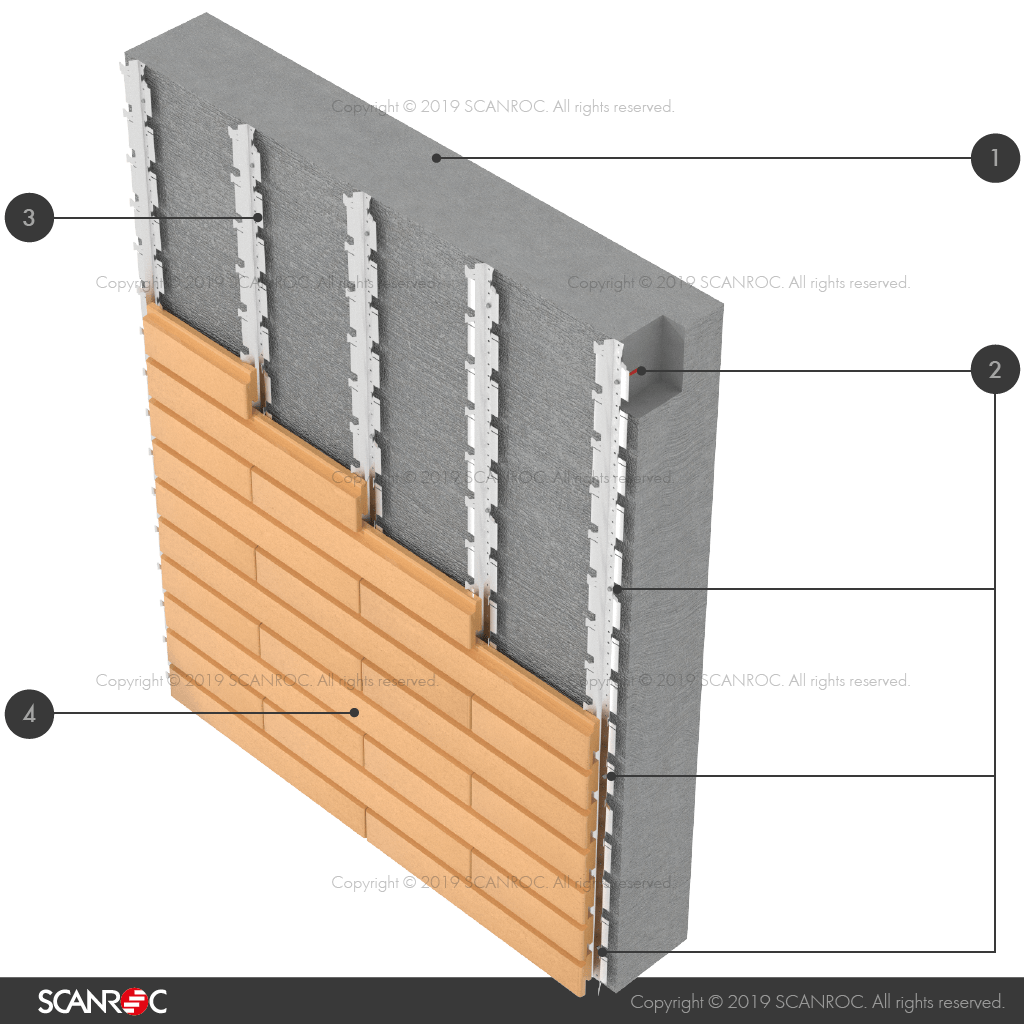
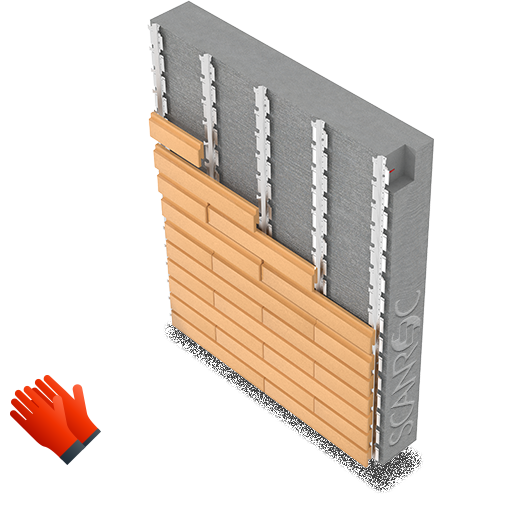
Explanation of the scheme:
- The wall.
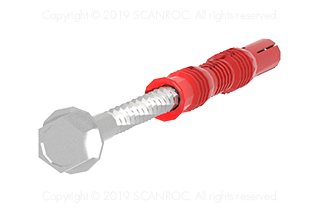
- Dowel.
- Hot dip galvanized screw.
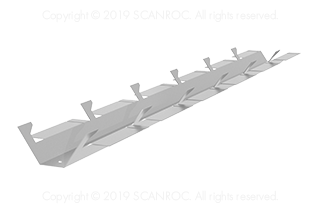
- SKANROK C-1 or C-1.75 stand.
- The facade tile SKANROK.
The SKANROK C-1 rack is directly mounted on the SKANROK tile.
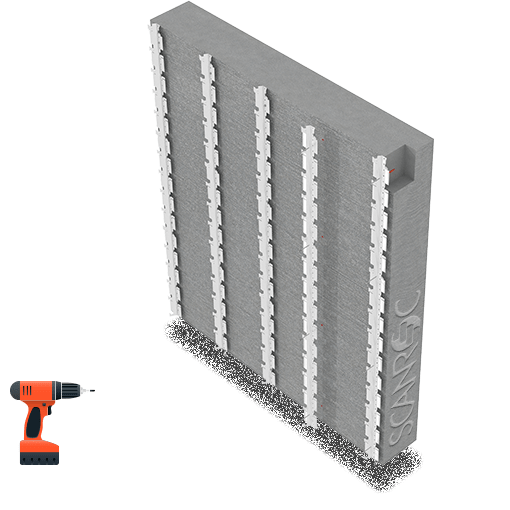
The diagram shows the placement of SKANROK C-1 racks in 600 mm increments for LONG Format [600x 100 mm] and LARGE Format [600x 200 mm] tiles. To hang the tiles of the COTTAGE Format cottage format [300×100 mm], the number of SKANROK C-1 racks is doubled in 300 mm increments.
Stages of installation of the SKANROK KEFSVOK-1 system
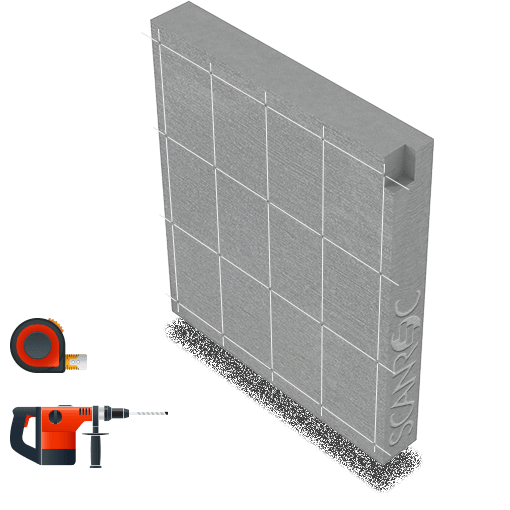
Step 1. Marking and drilling of holes
Perform markup according to the project. Drill holes to install anchor bolts.
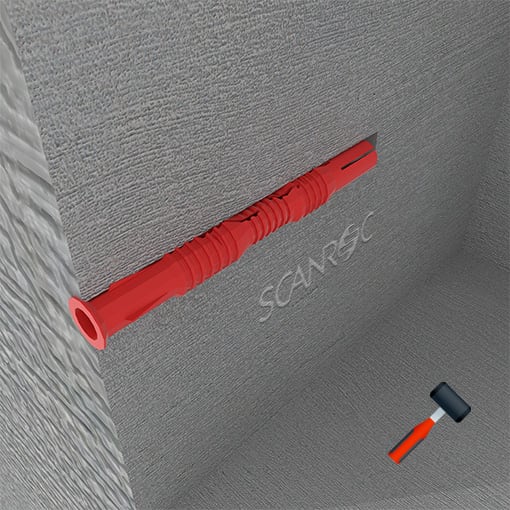
Step 2. Installation of plastic dowels
Insert the dowel into the prepared holes.
The depth of the hole should be slightly larger than the length of the dowel.
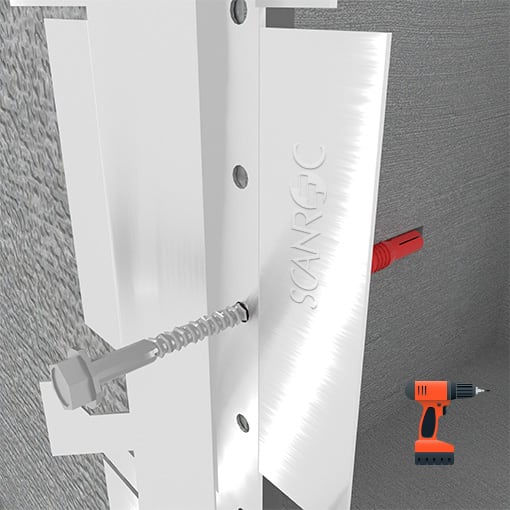
Step 3. Installation of the SKANROK C-1 rack
Install the rack and secure it with hot-dip galvanized dowel screws.
Screw diameter 4,5… 4, 8 mm.
After mounting the consoles, be sure to check the tightening of the nuts.
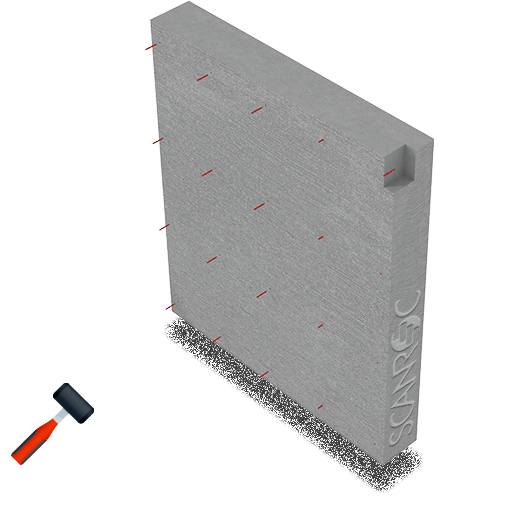
Step 4. Hanging of the skanrock facade tile
After mounting the entire system, the SCANROK tiles are mounted on the protruding antennae of the SKANROK C-1 racks.
Hanging is done by pressing on the tile and planting its groove on the mustache of the rack C-1.
Each tile should have 3 points of resistance – left, right edges and middle. At a minimum, every fifth row should be fixed with additional anti-vandal antennae, which have SKANROK C-1 racks, unless otherwise provided by the project.

Kiev, 02000, Ukraine


